Introduction
A leaking roof can swiftly cause significant damage, not only to your home’s interior but to its structure as well. Before rushing to call professionals, you might consider addressing the leak yourself. This detailed guide equips you with the necessary knowledge and practical steps to effectively identify and repair a leaking roof, saving you time and money.
Identifying the Leak’s Sneaky Path
To tackle a roof leak, start by locating its source. Pay attention to:
- Water Stains: Inspect your ceilings for discolored spots, typically brown or yellow, which often indicate moisture above.
- Peeling Paint: Check for bubbling or peeling paint on your ceilings and walls, as these are signs of prolonged moisture exposure.
- Attic Inspection: With a flashlight, examine the underside of your roof in the attic. Look for mold, moisture, or water trails which can help pinpoint the leak’s origin. This initial detective work is crucial in setting the stage for effective repairs (This Old House).
Gathering Your Repair Arsenal
Equip yourself with the right tools and materials for the job:
- Essential Tools: Including a utility knife for cutting shingles, a caulk gun for sealants, a flat bar for removing shingles, and possibly a hot air welder for specialized roof types like TPO.
- Materials Needed: You’ll require roofing sealant, replacement shingles or patches, and possibly new flashing if existing materials are compromised.
You can find most of these tools and materials at local hardware stores or online home improvement retailers.
Step-by-Step Repair Instructions
- Prepare the Roof: Ensure the roof is dry; safety first! Clear the area of any debris or tools.
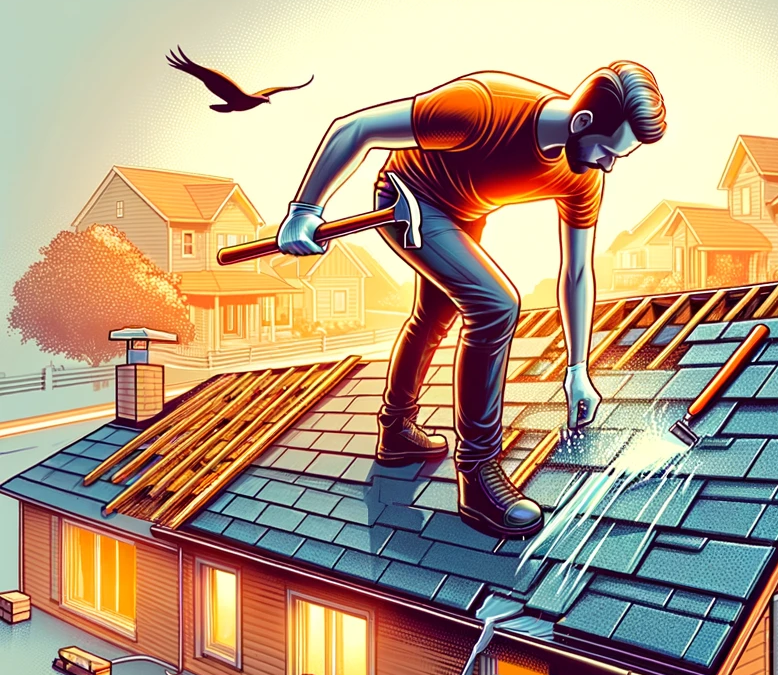
- Remove Damaged Shingles: Carefully remove shingles around the leak using your utility knife and flat bar, lifting nails and removing damaged materials.
- Inspect and Replace Underlying Materials: Look at the roofing felt and the deck for any signs of damage. It’s imperative to replace these if they show signs of rot or severe water damage.
- Apply Roofing Cement: Securely seal around the repaired area with generous amounts of roofing cement, ensuring edges and corners are covered to prevent future leaks.
- Replace Shingles: Position new shingles or patches as needed, nailing them down securely and applying additional sealant around the edges.
Addressing Complex Leaks
- Advanced Issues: Leaks involving complex roof structures, like those around chimneys or in valleys, may require replacing old caulking and ensuring flashings are intact and properly sealed. Sometimes, new step flashing may be necessary to ensure complete waterproofing.
- Professional Help: For intricate leaks or if your roof is steep and difficult to navigate safely, it’s advisable to hire professional roofers. They have the expertise and equipment to handle complicated repairs securely.
Preventive Measures and Maintenance
- Regular Inspections: Inspect your roof periodically, especially after severe weather conditions, to catch and repair minor issues before they escalate.
- Gutter Maintenance: Keep your gutters clean to prevent water from backing up under the shingles, which is a common cause of leaks.
- Shingle Maintenance: Regularly check for and replace damaged or missing shingles to maintain the integrity of your roof’s waterproof barrier.
Conclusion
While repairing a leaking roof may seem daunting, proper preparation and understanding of the necessary steps can make it a manageable task for many homeowners. Always prioritize safety, and if the repair exceeds your DIY capabilities, do not hesitate to call in professional roofers. Regular maintenance and timely repairs are key to extending the life of your roof and preventing future leaks.
